

 The toolbar buttons shown at right are used to draw lines,
irregular polygons, rectangles, circles and text.
 First, let's consider polygons. (Much of the following functionality is the
same for lines.)
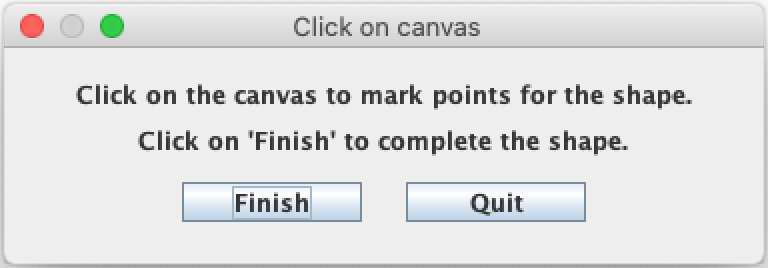
If you click on the polygon button (red), the dialogue at right will appear.
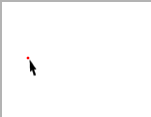
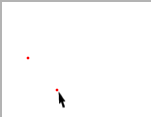
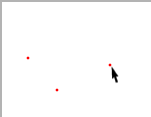
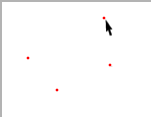
Click on the canvas to mark the control points which define a shape.
 |
 |
 |
 |
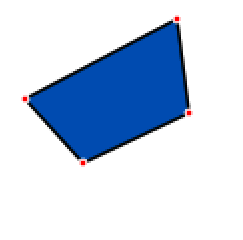
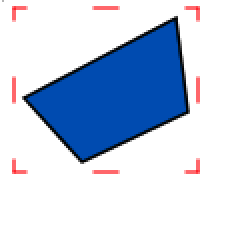
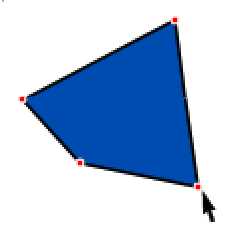
Next, click the Finish button to draw the shape. Clicking on the shape will make the red control points and 'handles' appear alternately. You can adjust the shape by clicking on a control point and dragging it (with the mouse button held down). To stretch a shape, click on a handle and drag it.
 |
 |
 |
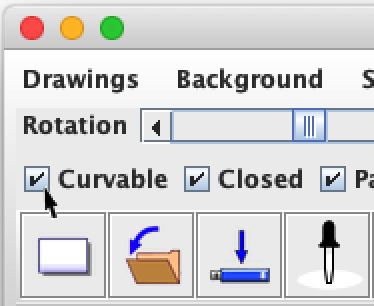
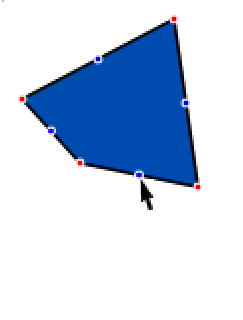
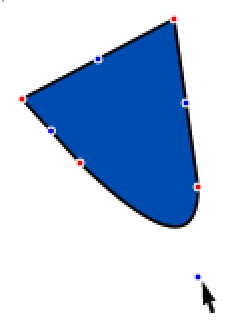
If you want a shape with curved lines, select the shape and click on the Curvable checkbox at the top left of the main program window. Blue control points will appear in the middle of each line. Click on a blue control point and drag it, as shown below.
 |
 |
 |
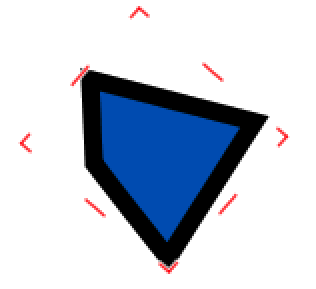
Near the top of the program window there are two sliders: Rotation and Thickness. Rotation can rotate a shape to any angle. Thickness changes the thickness of the border line. Click on a shape to select it, then adjust the sliders.
 |
 |
Rectangles don't present any difficulties, so let's look at circles next.
When you click on the yellow circle button, Nefertari will prompt you to mark two points on the canvas. These two points will define opposite angles of a rectangle. Nefertari draws an oval within this rectangle.
 |
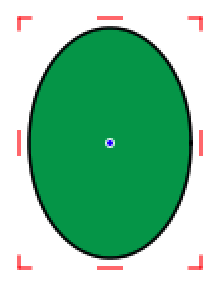 |

To make this shape circular, drag the handles to stretch it, or click on
the Square checkbox.
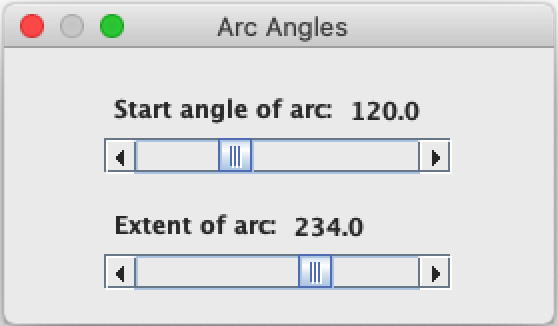
Double clicking on a circle will make the Arc Angles dialogue appear. You can adjust the two sliders to make an arc.
 |
 |
![]() The last toolbar button is for drawing text. When you click on it,
you will be prompted to choose a point on the canvas. After clicking
on the canvas, a text box with the words 'Change this' will appear.
The last toolbar button is for drawing text. When you click on it,
you will be prompted to choose a point on the canvas. After clicking
on the canvas, a text box with the words 'Change this' will appear.
 |
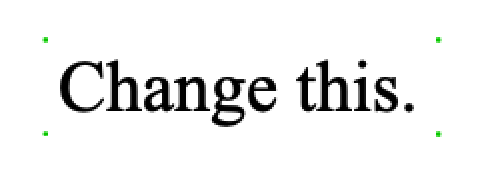 |
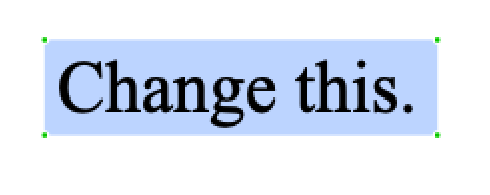
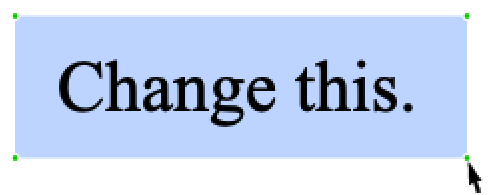
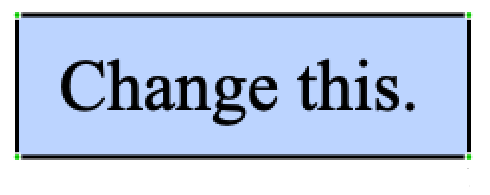
The green control points mark the corners of the background. The background is white by default, but it can be changed to another colour, or even transparent. (See Colours.) You can adjust the size of the background by dragging the green control points, as shown below. You can put a border around the text box by adjusting the Thickness slider, which is described above.
 |
 |
 |
As with polygons, when you click on a text box, the control points will alternate with red handles. Drag the handles to stretch or compress the text.

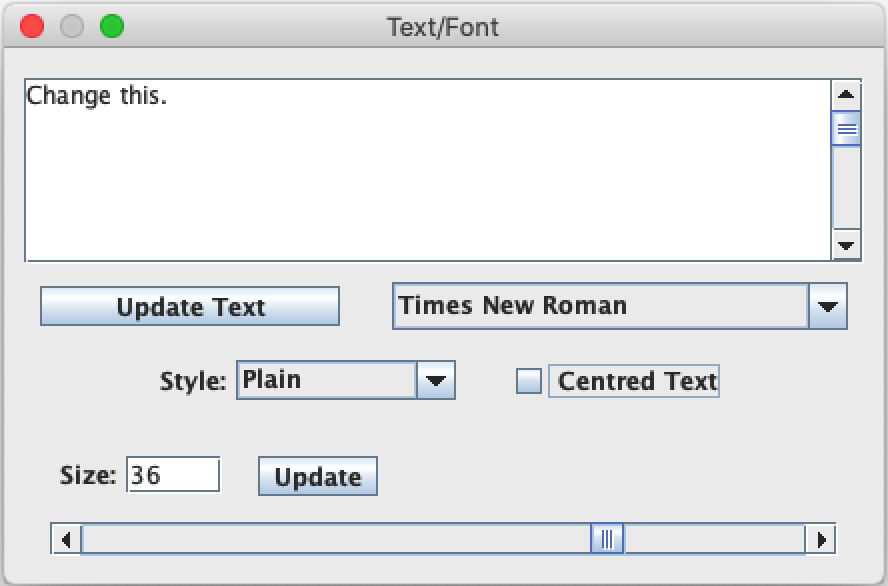
To change the text, double-click on the text box. The dialogue at
right will appear.
Type a new text in the text field, and click on Update Text. You can also adjust the font and font size, and the style (Plain, Bold, Italic), if the font supports it.