Shapes
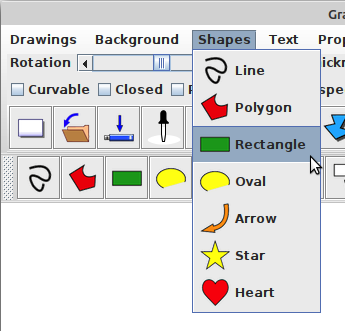
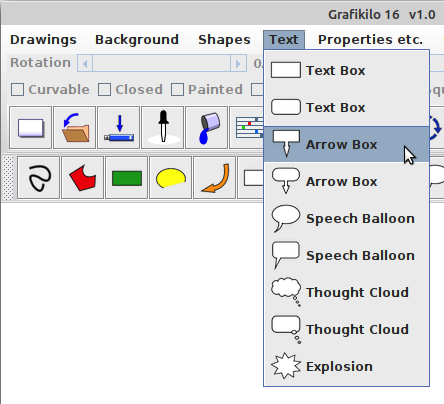
To draw a shape, click on the shape-toolbar, which is just above the drawing canvas, or select a shape from the drop-down menu under Shapes or Text.
('Text' is short for 'Text Shapes', that is, shapes which can contain text inside.)
 |
 |
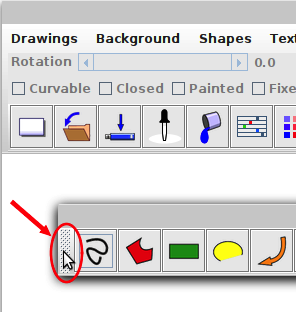
The shape-toolbar can be separated from the main program window;
click on the 'handle' (circled in red) and drag the mouse while
holding the left mouse button down.
This feature is useful when you want to give the canvas a little more vertical space.
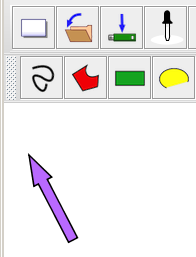
After you select a shape, the program will display a message which prompts for one or more points on the canvas. For example, if you select the arrow, this message will appear.
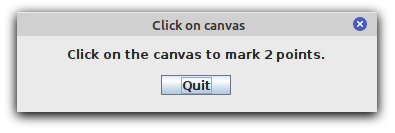
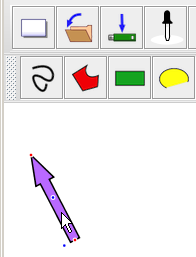
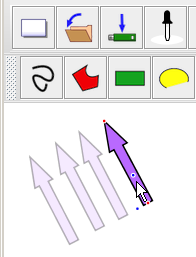
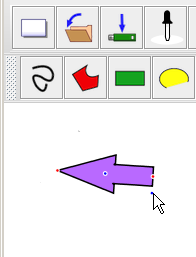
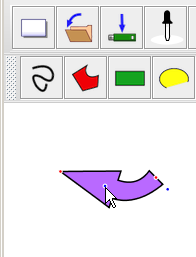
Click two points on the canvas, and Grafikilo 16 will draw an arrow between those points. (First screenshot below.) If you click on the arrow, its control points will appear. (Second screenshot.) You can move the arrow to a new position by clicking on it and dragging the mouse (while holding the left mouse button down). (Third screenshot.)
 |
 |
 |
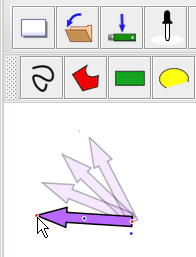
Control points can also be dragged, as the screenshots below show. Red control points (nodes) define the end points of straight or curved lines. For arrows, there are two nodes; one at the tip and one at the tail. Blue control points are generally used to curve lines, but the blue point beside the tail of an arrow adjusts the arrow's thickness.
 |
 |
 |
Rectangles
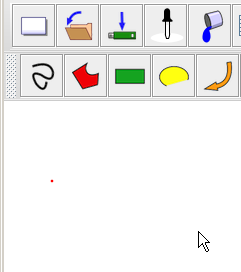
Rectangles and ovals are drawn by marking two points - opposite angles, as show below.
 |
 |
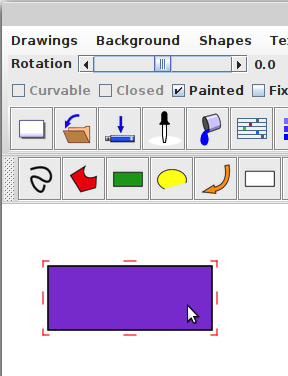
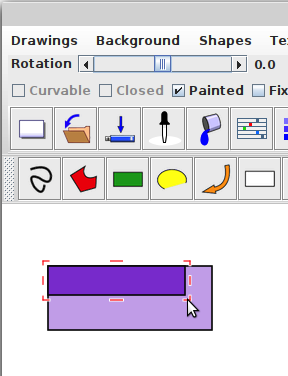
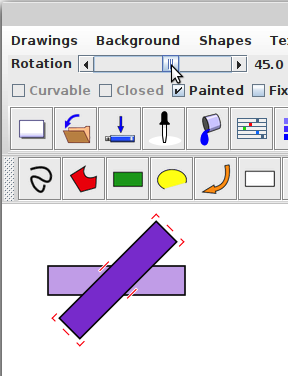
When you click on a rectangle, 8 red 'handles' will appear around it. These are used to stretch or squeeze the shape, as the second screenshot below shows. If you want to rotate the shape, adjust the Rotation slider.
 |
 |
 |
Ovals, Circles
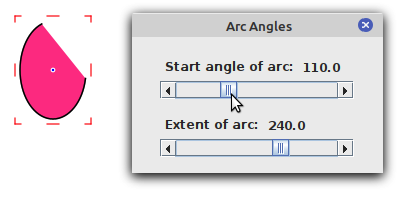
Ovals and circles are drawn the same way as rectangles, by clicking on two points, and they are stretched and rotated in the same way. In addition, ovals have a dialogue box under the Properties menu: Arc Angles.
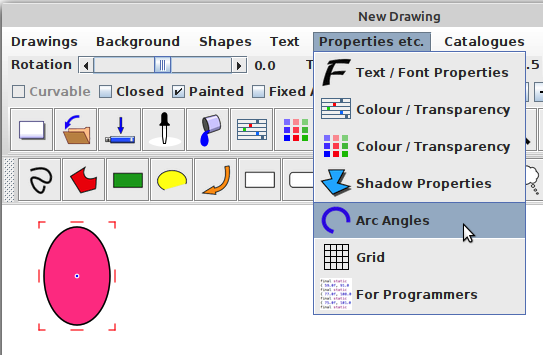
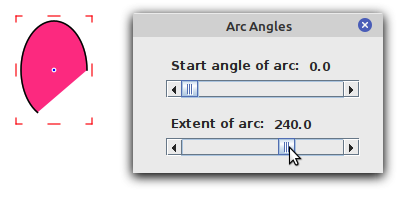
The sliders in the Arc Angles dialogue control the start angle and the extent of the arc, as shown below.
 |
 |
|
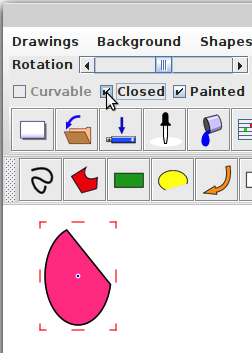
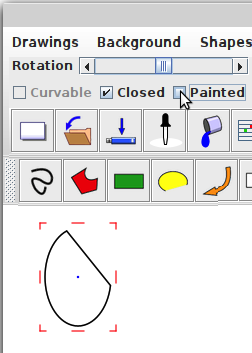
By checking or unchecking checkboxes, it's possible to close the arc, or open it, to paint the enclosed area, or to unpaint it, as shown at right. To make a perfect circle, first drawn an oval, then check the checkbox Square. |
 |
 |
Lines, Polygons
Lines and polygons are really the same shape. The difference is that lines are open by default - that is, the first and last points are not joined together. Polygons, on the other hand, are closed. A line can be turned into a polygon by checking the Closed checkbox, and optionally Painted.
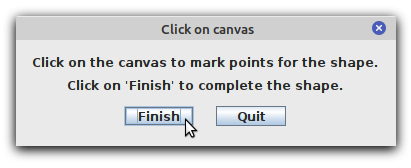
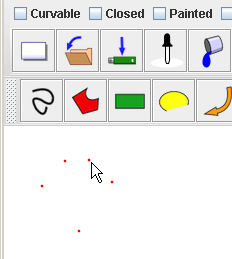
When you select Line or Polygon, you will be prompted to mark two or more points on the canvas. In the screenshot below, I've marked 5. Click on Finish to draw the shape.
 |
 |
|
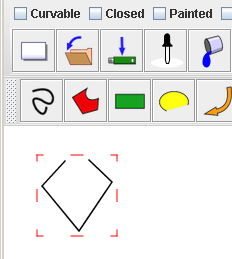
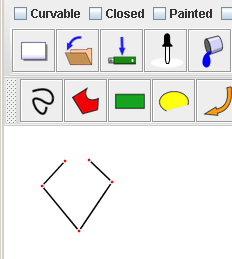
Clicking on the shape (or inside the points) causes the controls to alternate between the stretch handles and the red nodes, as shown at right. |
 |
 |
|
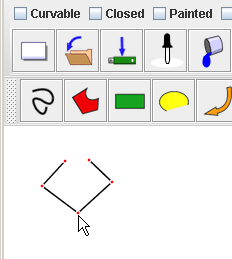
You can change the shape by clicking on a node and dragging it (holding the left mouse button down). |
 |
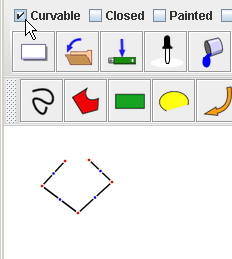
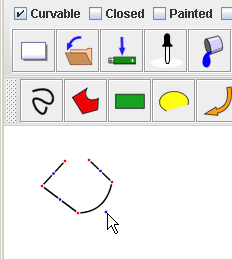
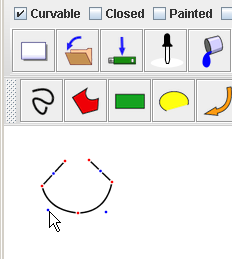
Checking the Curvable checkbox causes blue controls points to appear in the middle of the straight lines. When these are dragged, the lines curve, as shown here.
 |
 |
 |
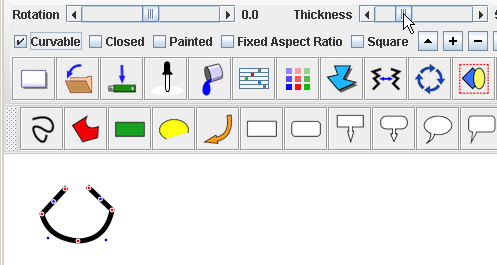
The thickness of a line can be changed by adjusting the Thickness slider.
|
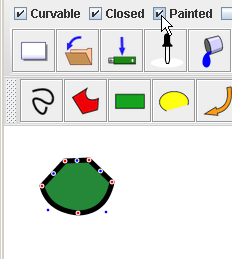
To turn a line into a polygon, just click the Closed checkbox, and optionally Painted. |
 |
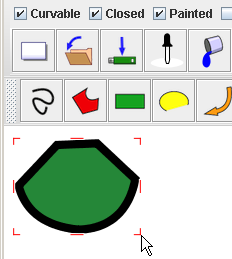
Of course, you can stretch a line or polygon by dragging the stretching handles. |
 |
Text boxes and speech balloons are explained here.
