Text Boxes, Speech Balloons, etc.
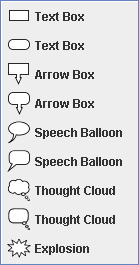 |
The shapes shown at left display text inside. They are 'text shapes'. When you click on a text shape in the toolbar, or select it from the Text menu, Grafikilo 16 will prompt for a location on the canvas.
 |
Text Boxes
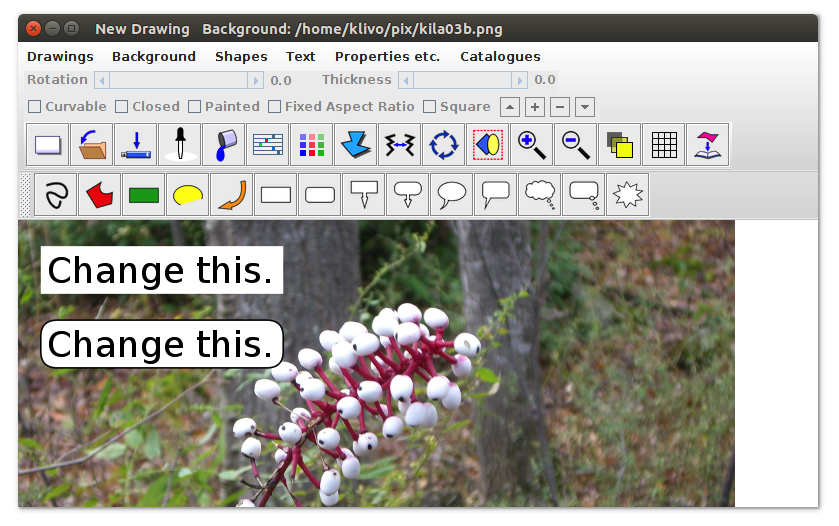
The screenshot below shows two text boxes, one with square corners and one with rounded. The default text for all text shapes is 'Change this.' Notice that the square cornered text box doesn't have a black outline. By default, its outline has a width of zero. This can be changed by clicking on the shape and adjusting the Thickness slider, which is below the menu bar.
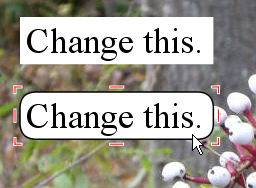
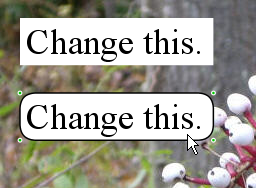
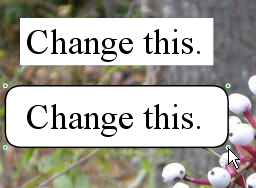
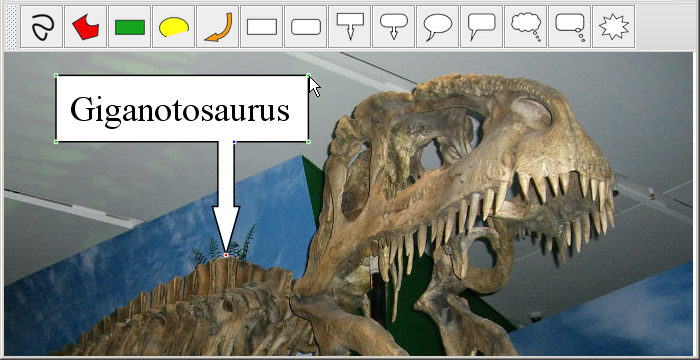
Clicking on a text shape alternately displays red stretching lines (or handles) and four green control points (near the corners), as the first two screenshots below show. The stretching handles are used to stretch the shape and the text inside it. Dragging a green control point allows you to put a wider space around the text, as the third screenshot below shows.
 |
 |
 |
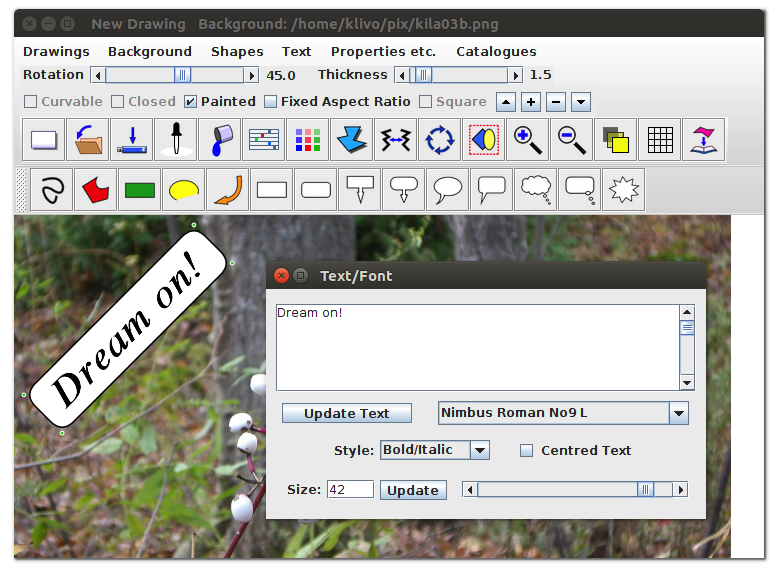
Double clicking on a text shape will make the Text/Font dialogue appear. You can also select this function from the Properties menu. In the screenshot below, the default text has been changed from 'Change this.' to 'Dream on!' Font parameters have also been changed. The text box was rotated (45°) by adjusting the Rotation slider, which is under the menu bar.
Arrow Boxes
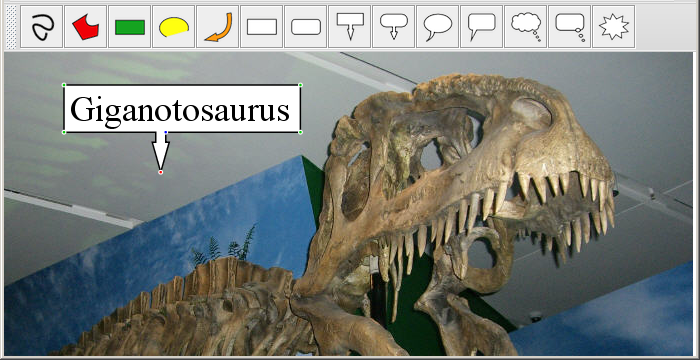
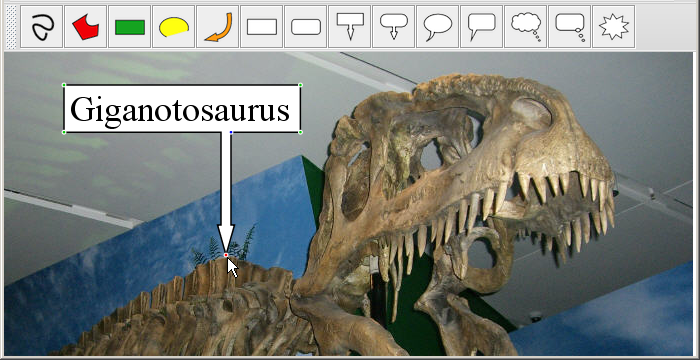
Arrow boxes are simply text boxes with an arrow attached; the statements above about text boxes all apply to arrow boxes. The screenshot below shows that an arrow box has two additional control points: the red point at the tip of the arrow changes the position of the arrow; the blue point at the base of the arrow changes its width.
After placing an arrow box on the canvas, and changing its text, drag the arrow tip into position.
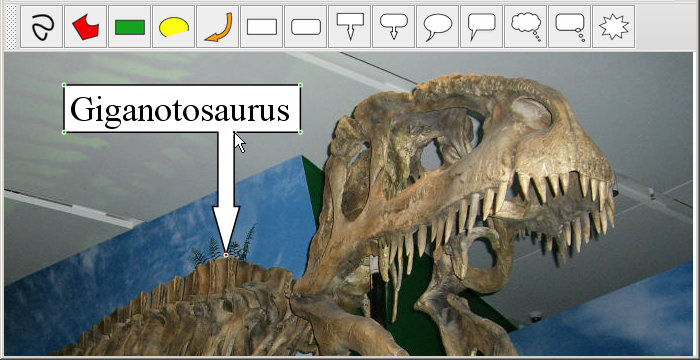
Adjust the width of the arrow by dragging the blue control point at the base of the arrow.
Drag a green control point to add a margin arround the text.
Speech Balloons
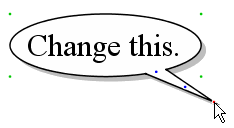
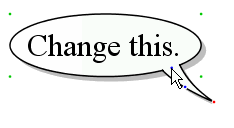
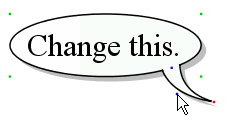
Speech balloons have a 'tail', with three control points: the red control point at the tip controls the position of the tip; the blue point at the base of the tail controls the position of the base, but its movement is limited; the blue control point in the middle allows the tail to be curved.
 |
 |
 |
Speech balloons are also described in the example given here.
Thought Clouds and Explosions
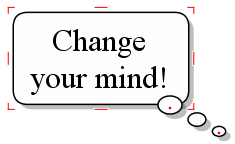
The rectangular thought cloud is the same as the rectangular text box, except that it has a 'tail' consisting of three bubbles. This tail can be repositioned by dragging the red control points, but the movement of the control point nearest the text is limited.
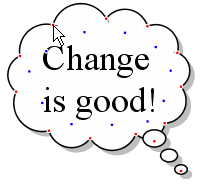 The cloud-shaped thought cloud is a little different from the rectangular one.
If you click on the shape 3 times, red and blue control points will appear.
By dragging these points, you can modify, to a limited extent, the shape
of the cloud. The red points define the end points of arcs, and the blue
points allow you to adjust the curvature. The intended purpose of these
points is to improve the shape of the cloud, if you don't think it's perfect.
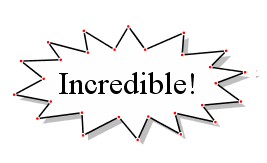
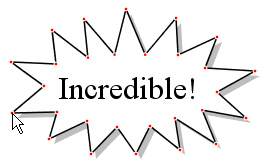
The explosion shape also has control points, which appear when the shape is clicked three times. Use these points to adjust the size and position of the spikes, as shown below.
 |
 |
